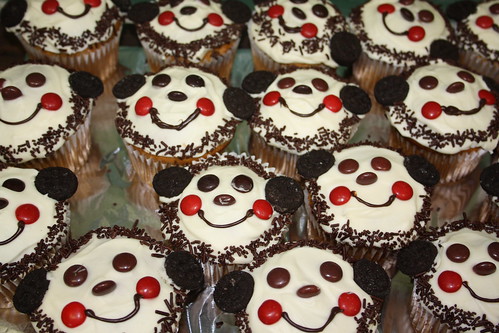
I know I am late, but I wanted to share my cupcakes with you all! A co-worker/friend invited us to her house for Easter and I decided to bring cupcakes. My original plan was just to decorate cupcakes with coloured icing and sprinkles, but ever since Shea's birthday, I am kind of addicted to fancy looking cupcakes! So, I did a quick google search and found this link: http://parispastry.blogspot.com/2009/03/easter-cupcakes_21.html
They turned out great! It was pretty simple to do. Though next time I would use regular icing rather than cream cheese icing because cream cheese icing isn't pure white and the marshmallows were pure white. I doubt anybody noticed though - well, except me :) I used a jelly bean instead of a m&m or similar shaped candy - I really liked it. I did try to find black licorice for the whiskers, but string black licorice is hard to find in the stores! I think I will buy some and keep it in my cupboard for occasions like this.
I had some extra cupcakes, so I just decorated them simply with little chicks that I picked up at Michaels the other day. They are cute too!
I really have to say that I love google - there are so many talented people out there and I love that they share their ideas! Thank you to all that share your ideas!!
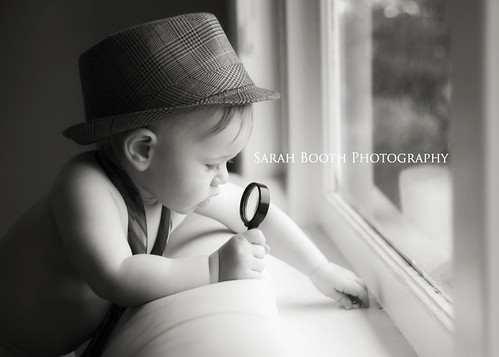
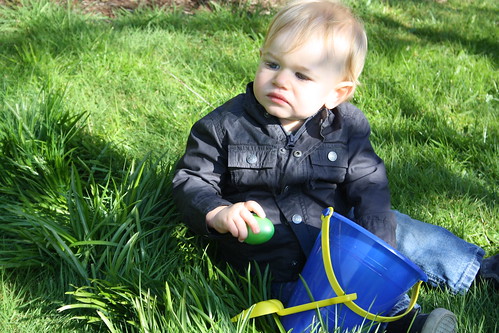
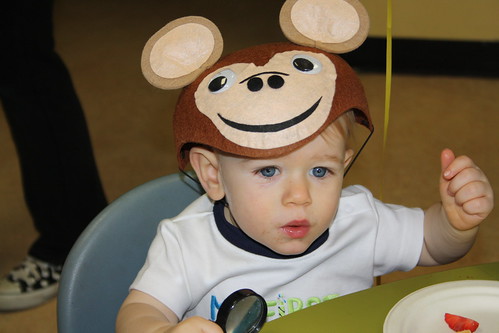
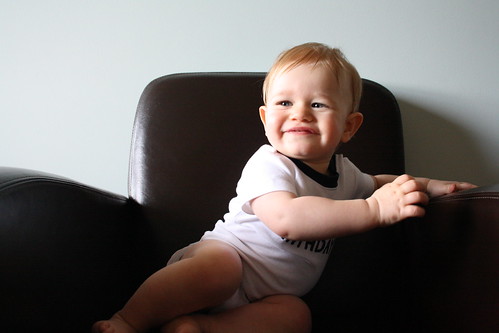
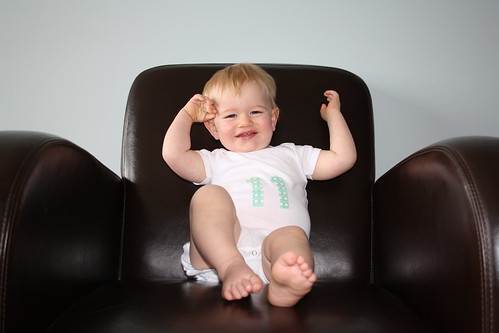
Here is Shea looking for easter eggs :)
Hope everyone had a lovely holiday!